

OAuth2 Login Using Spring Boot and Spring Security


- Getting started with creating a spring boot project using a spring initializer
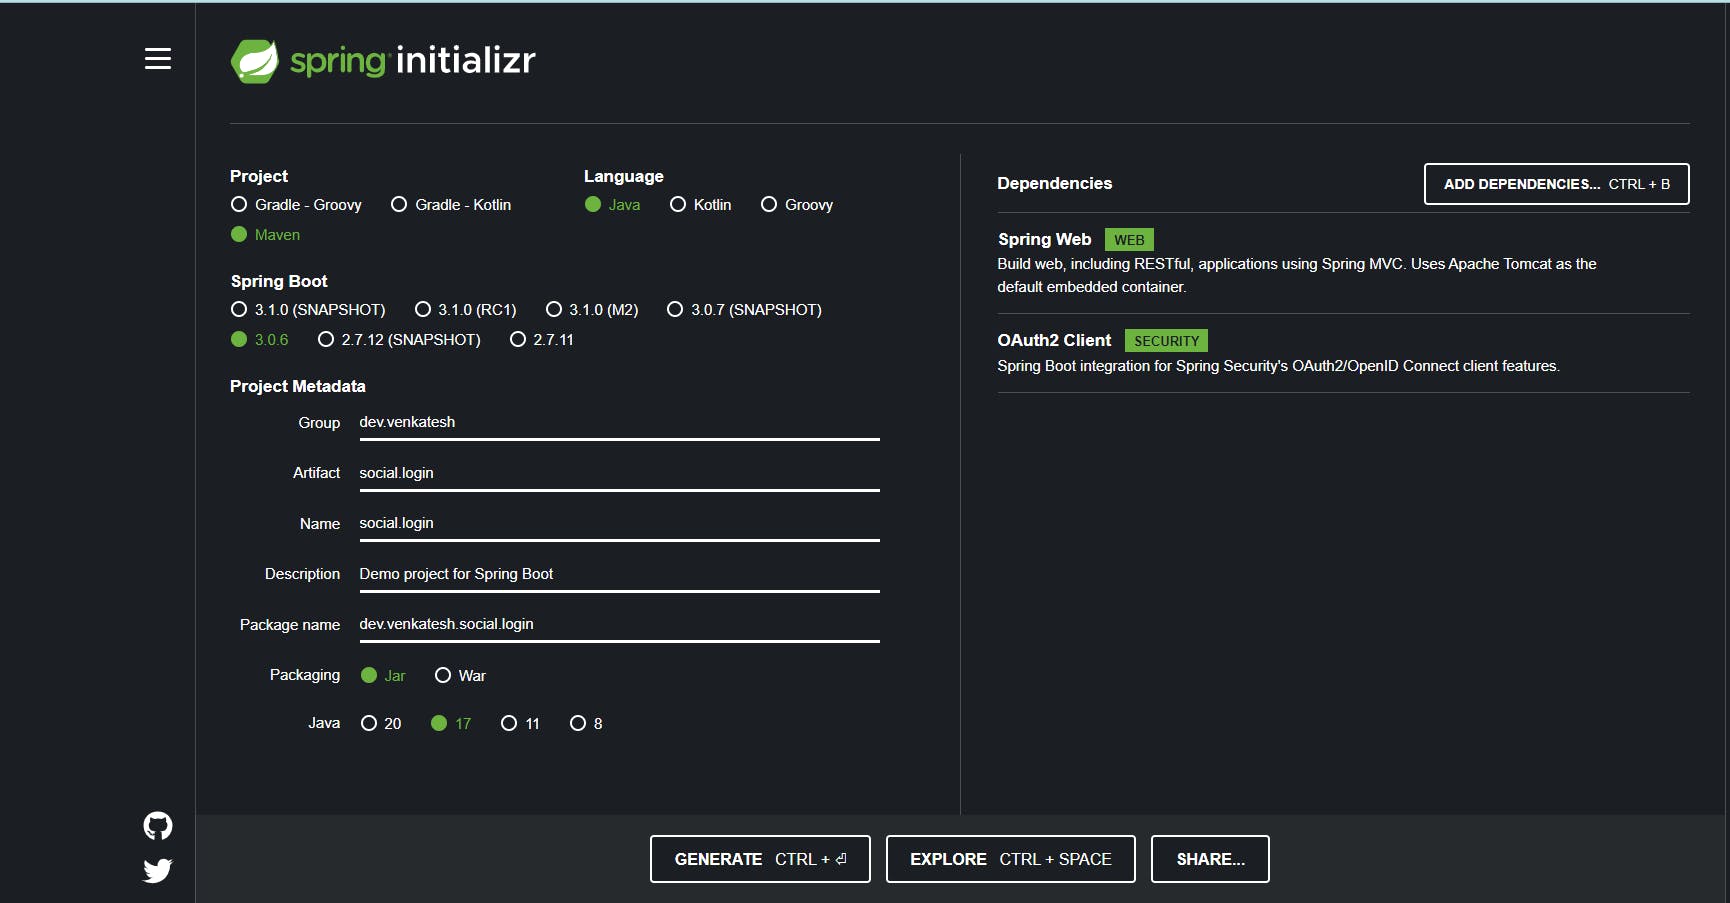
Now let's create a spring boot project with the help of Spring initializer by adding Spring Web and OAuth2 Client as Dependencies as mentioned below and here we are using Maven. After Adding Dependencies click on 'GENERATE ' the zip file will be generated. Then extract that zip file and import it as a Maven project to IDE like Intellij Idea, Eclipse or Spring Suite as you wish.
- Creating OAuth2 Login Using Spring Security
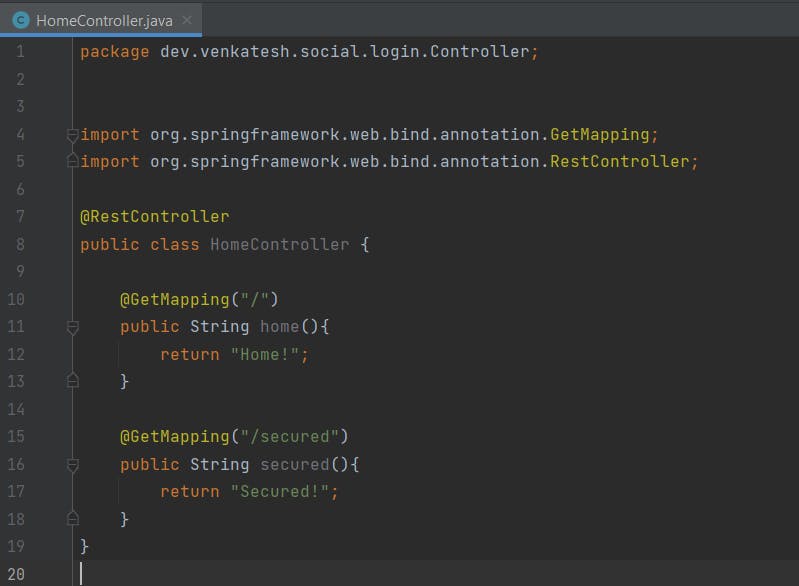
After importing the project folder into IDE. Now let us create a package as Controller and add Basic Controller Class with Get mapping for the '/' endpoint and '/secured' endpoint as mentioned below.
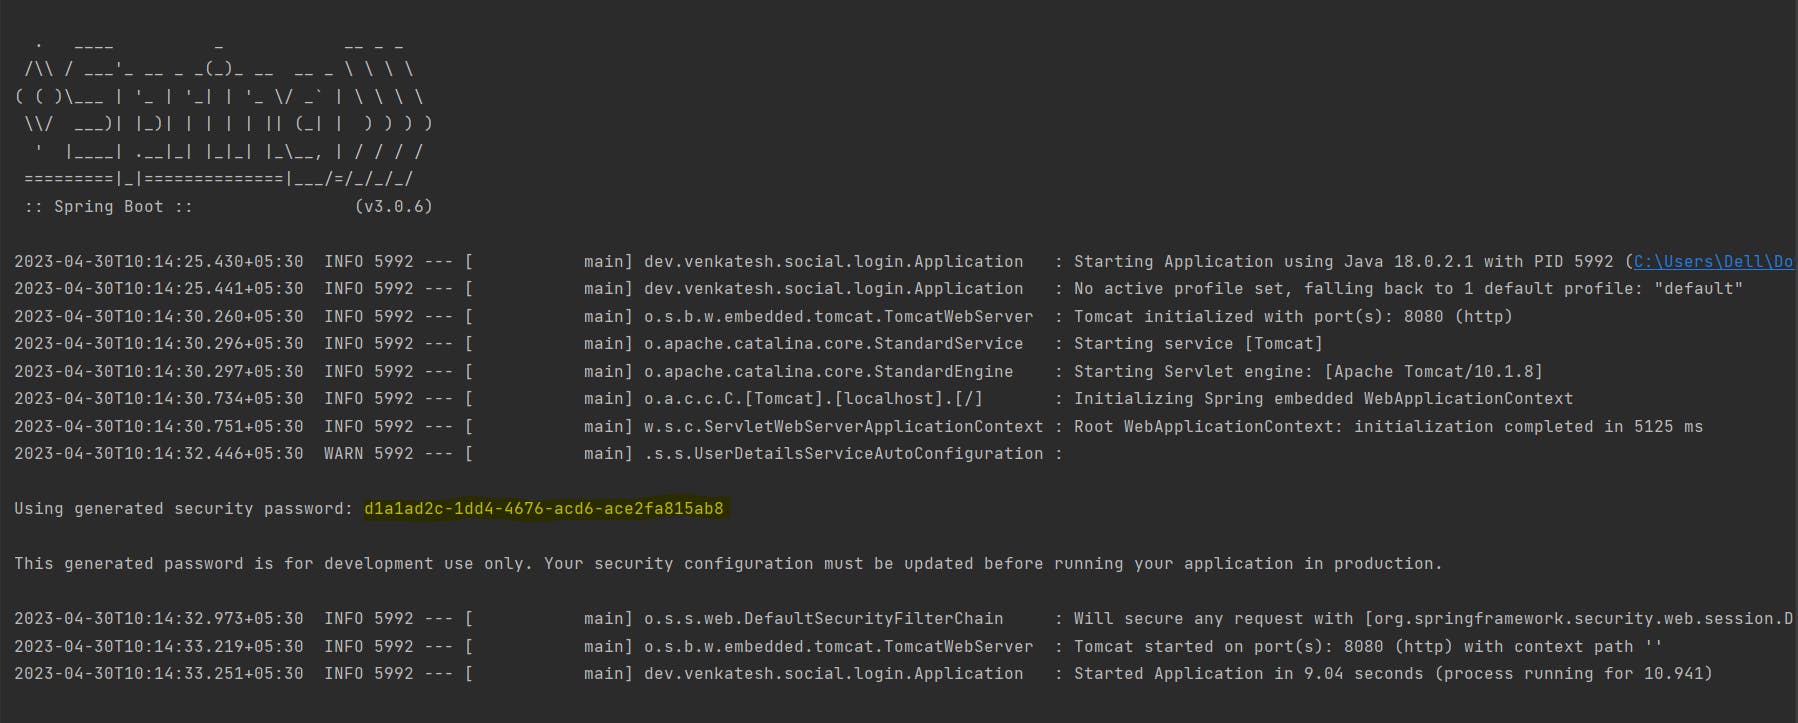
Now we gonna run the spring boot application. Now the Spring Boot application is secured and the security password is generated in the spring boot application console as highlighted below. We cannot log in and access endpoints without a username and password as shown below.
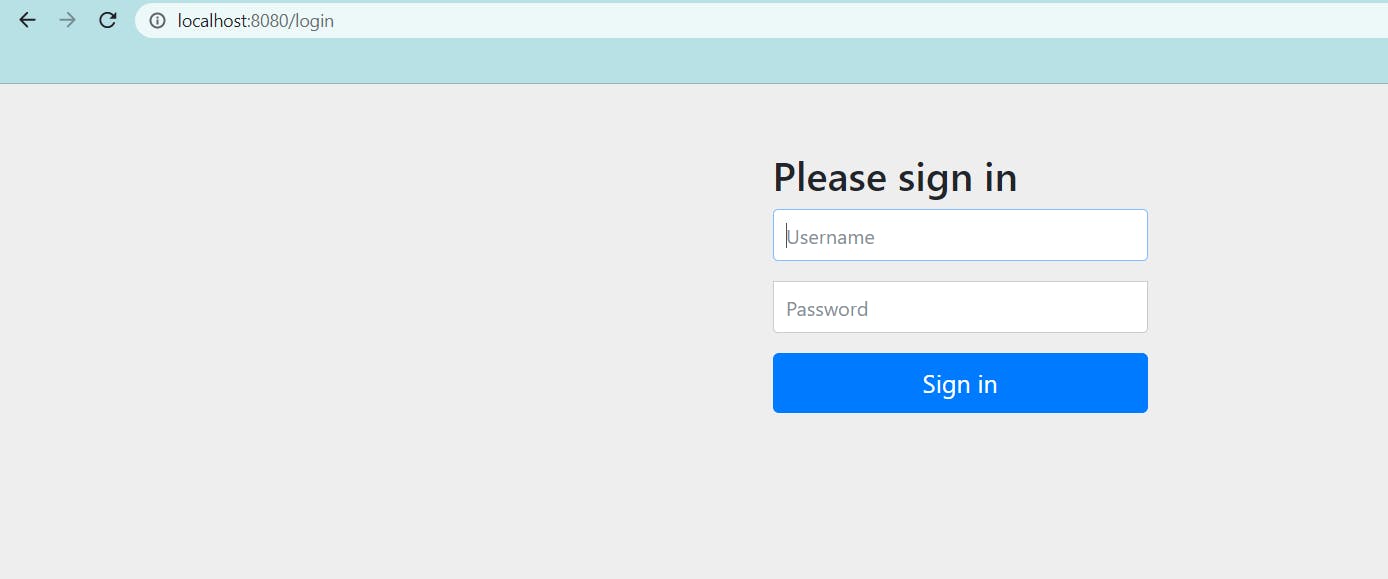
To access we need to give a username and password. By default username is 'user' and the password can be found in the Spring Boot Application console. After logging in using a username and Password now we can access the endpoint as shown below.
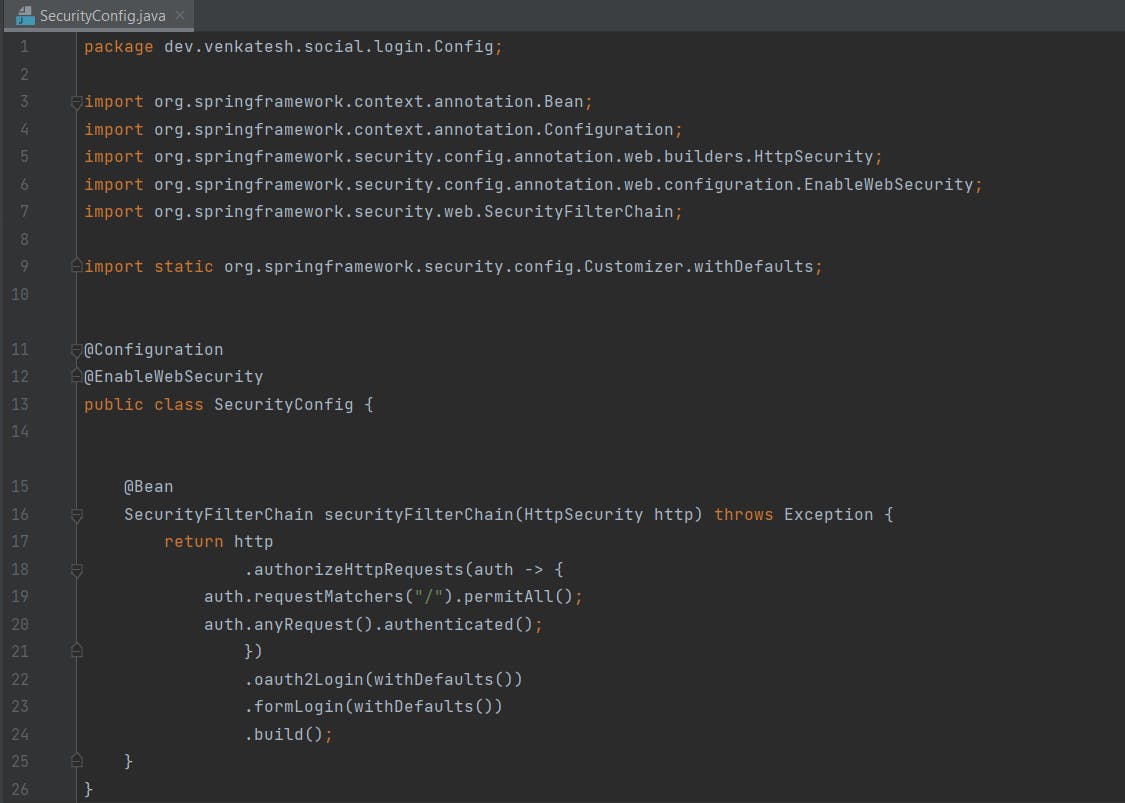
As we know that everything is secured by default.To change this now we gonna override with Security Config Class. Now let's create Security config Class in a Config Package. After creating Security Config Class we annotate @configuration and @EnableWebSecurity on the Class level. Here we are using the SecurityFilterChain method which filters the HTTP requests and we are taking HttpSecurity as a parameter in the method. Then we are authorizing requests using the authorizeHttpRequest method to authorize requests like the '/' endpoint and permit without any login. Apart from the '/' endpoint and any other request we are authenticating using anyRequest() and authenticated() methods as mentioned below. Also, we are using formLogin() with static with defaults () because whenever any other request apart from the '/' endpoint say '/secured' endpoint is authenticated so we are enabling form login and also we are able to provide oauth2Login by using oauth2Login().
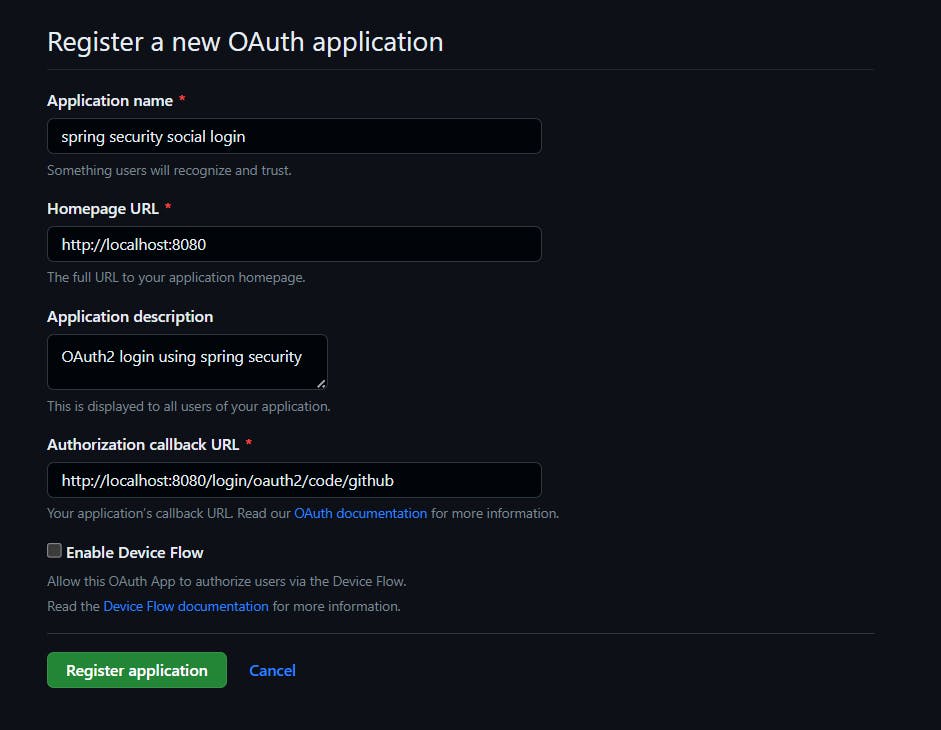
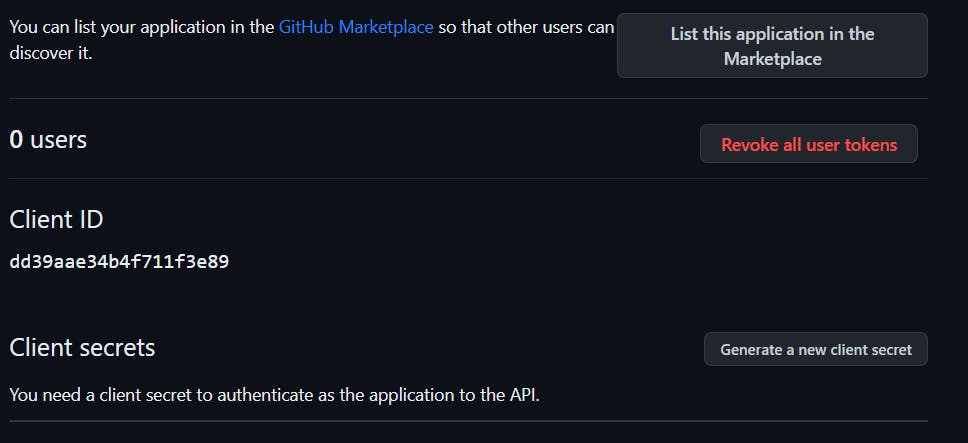
Now we gonna add a property logging.level.org.springframework.security=TRACE in the application.properties file as it gives visibility actually what's happening on the application. To do Github, Google or Twitter login we need OAuth2 client credentials on their applications. Now let's create OAuth2 login using GitHub first go to GitHub settings in the profile and then select Developer settings. Then click on OAuth apps and register a new application. Enter the details and register as shown below.
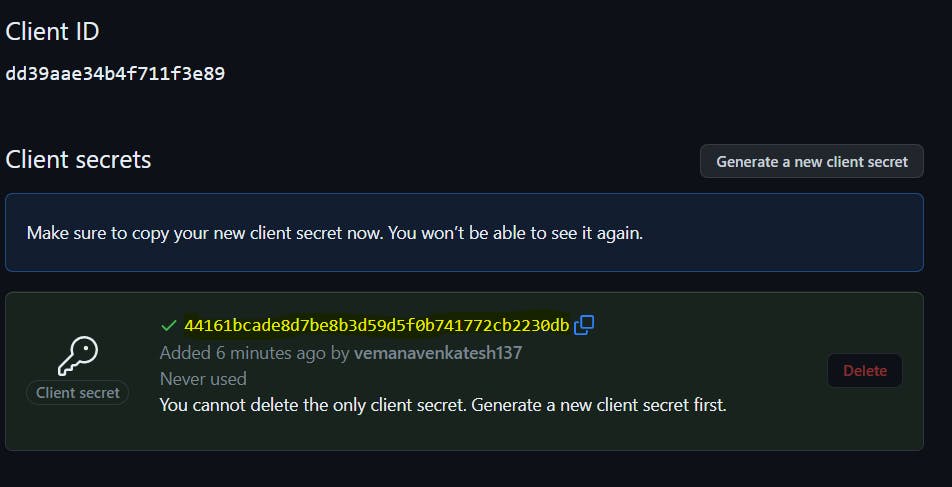
After registering the client Id and Client secrets are generated. Now we use these as properties in the application.properties file as spring.security.oauth2.client.registration.github.client-id=dd39aae34b4f711f3e89 and spring.security.oauth2.client.registration.github.client-secret=44161bcade8d7be8b3d59d5f0b741772cb2230db.The client Id will be generated after registering Oauth Application in github and the client secret is generated by selecting generate new client key as shown below.
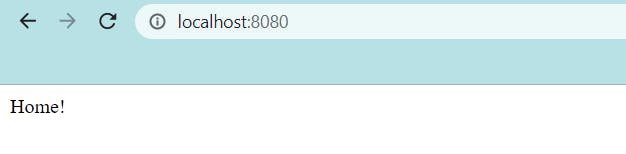
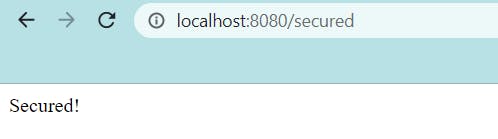
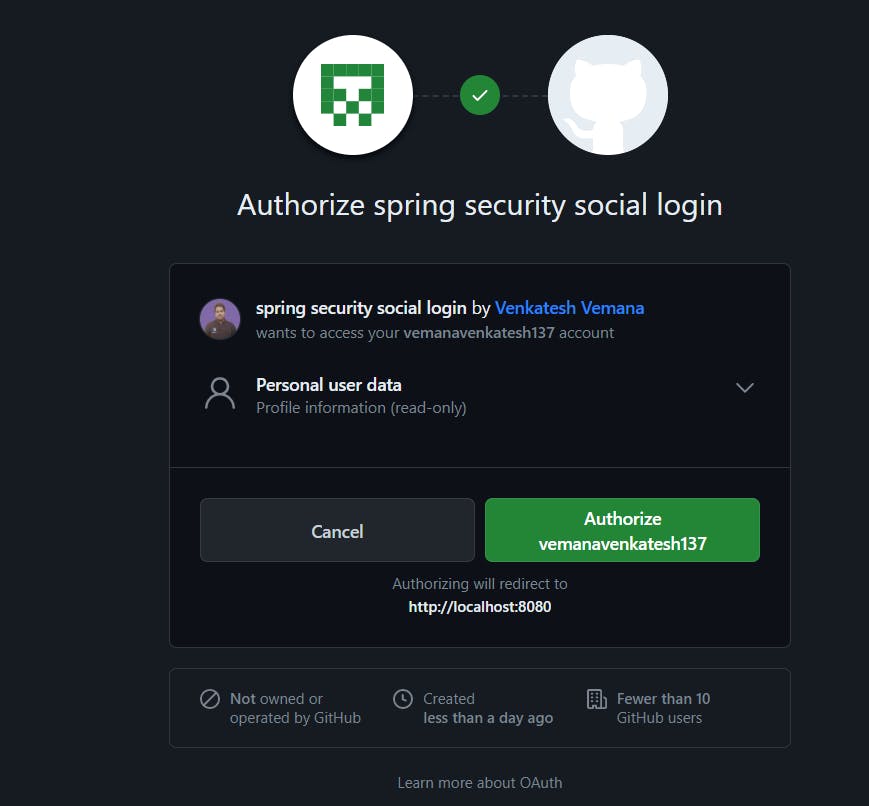
Now let us run the spring boot application again. We can see that if we access localhost:8080 by default the "/" endpoint is called and we can see response as we are not authorizing the "/" endpoint. When we access the "/secured" endpoint we can see we have formLogin and OAuth2 login as Github as shown below. We can log in through Oauth2 login by Authorizing with Github. After that, we can see the response from the "/secured" endpoint.


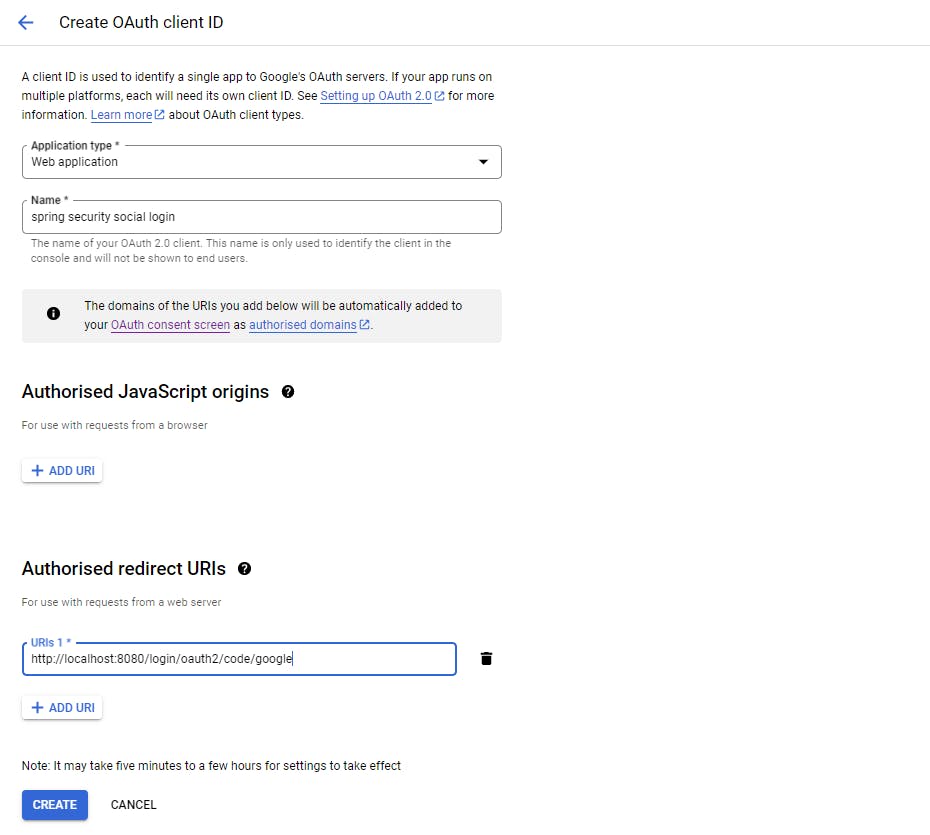
Now we create an OAuth2 login using Google. Go to Google Console click on OAuth Consent Screen and enter the application name, Application Home Page. Then click save and continue without adding other details. Now click on credentials then select Create credentials and then OAuth2 Client ID. Select application type as Web Application, Authorised redirect URIs as http://localhost:8080/login/oauth2/code/google
Then click on Create. After creating the client id and client secret will be generated as shown below.
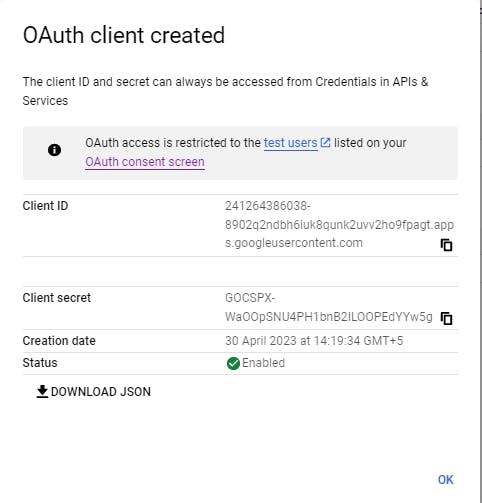
Now add properties spring.security.oauth2.client.registration.google.client-id=241264386038-8902q2ndbh6iuk8qunk2uvv2ho9fpagt.apps.googleusercontent.com and spring.security.oauth2.client.registration.google.client-secret=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 in application.properties file.
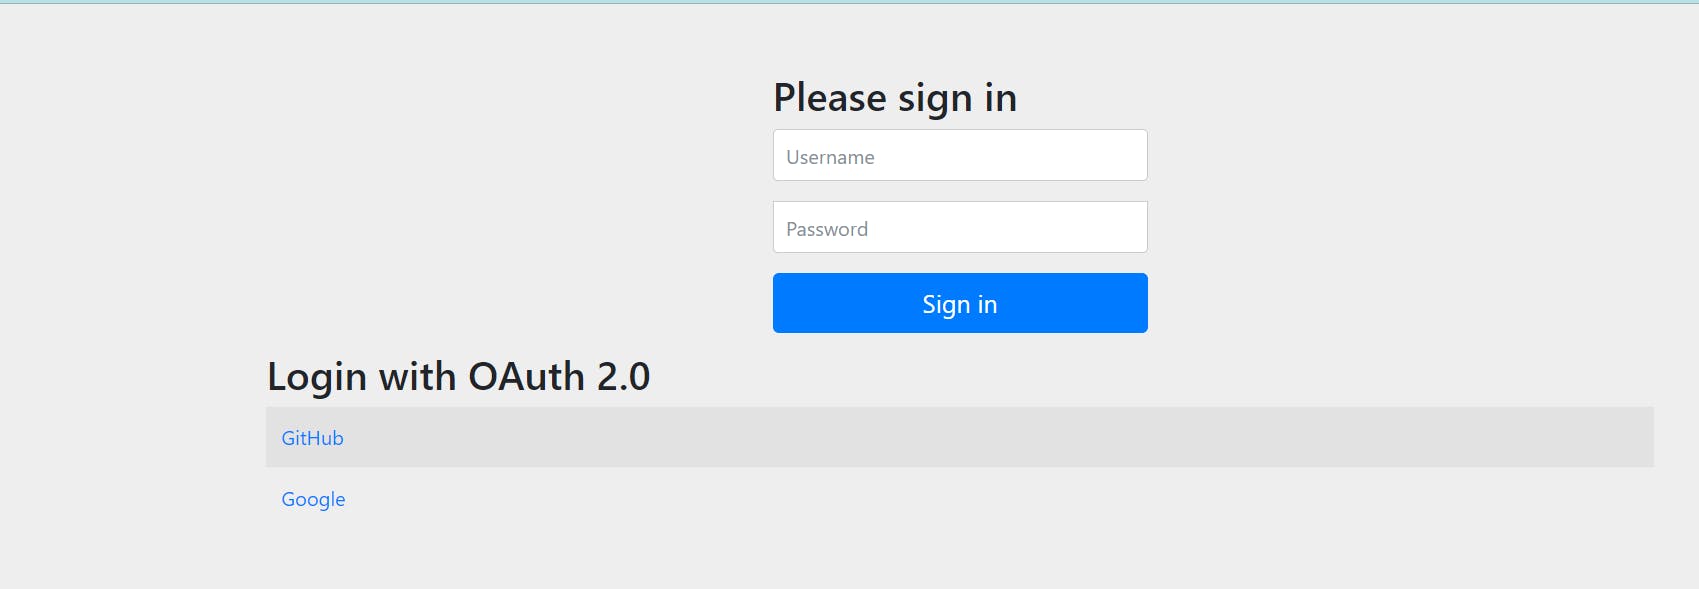
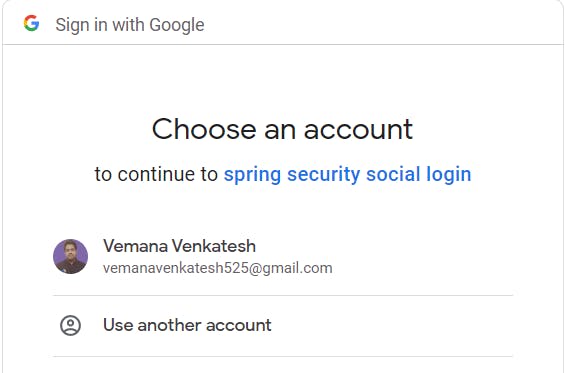
Now run the spring boot application again now we could see that there are OAuth2 logins containing GitHub and Google. We can log in through Oauth2 login by Authorizing with Google and we need to sign in using a Google account. After that, we can see the response from the "/secured" endpoint as shown below.

- Conclusion
In this Blog, we explored the OAuth2 Login using Spring Boot. We created a Spring Boot application that Authorizes using OAuth2 Login with Github and Google.
The code examples for this tutorial are available Over Github